Measuring your kitchen is a helpful first step when planning for new countertops. Early measurements can support budgeting, help you compare countertop options and make your first conversation with a fabricator more productive.
At the same time, these preliminary numbers are not a replacement for professional templating before installation. In this guide, we’ll walk through a simple step-by-step process to help you measure your kitchen countertops with more confidence.
What You Need Before You Measure Countertops
Before you start measuring, it helps to gather a few basic tools and create a simple layout of the space. This does not need to be overly detailed. The goal is to make the process easier and give you a clear starting point for planning new countertops.
You will need:
- A tape measure
- A sketch pad or graph paper
- A pencil
- A smartphone for reference photos
- A calculator
- A simple diagram of your kitchen layout
At this stage, the measurements do not need to be perfect. Homeowners are simply trying to get close enough to support planning, compare countertop options and request a more accurate quote. Final countertop measurements should still be completed professionally before fabrication and installation.
How to Measure Your Kitchen Countertops Step by Step
The key is to keep the process simple and organized. You are not trying to create final fabrication measurements at this stage. You are gathering enough information to understand the size and layout of your kitchen more clearly.
1. Start With a Rough Sketch of the Space
Begin by drawing a simple top-down sketch of your kitchen countertop layout. This does not need to look polished. It just needs to give you a clear visual of each counter section so your measurements stay organized.
As you draw, break the layout into basic rectangular sections whenever possible. Mark corners, open ends and any areas where the countertop changes direction. You should also label the location of the sink, cooktop and any appliance gaps that affect the countertop run. The clearer your sketch is, the easier it will be to measure each section accurately.
2. Measure the Length of Each Section
Once your sketch is in place, start by measuring the length of each countertop section. For sections that run between two walls, measure wall to wall. For open ends, measure the full visible length of the counter.
If your kitchen has an L-shaped or U-shaped layout, measure each run separately rather than trying to treat the whole space as one piece. This makes your countertop measurements easier to follow and gives you a more useful estimate when you begin comparing countertop options or requesting pricing.
3. Measure the Countertop Depth
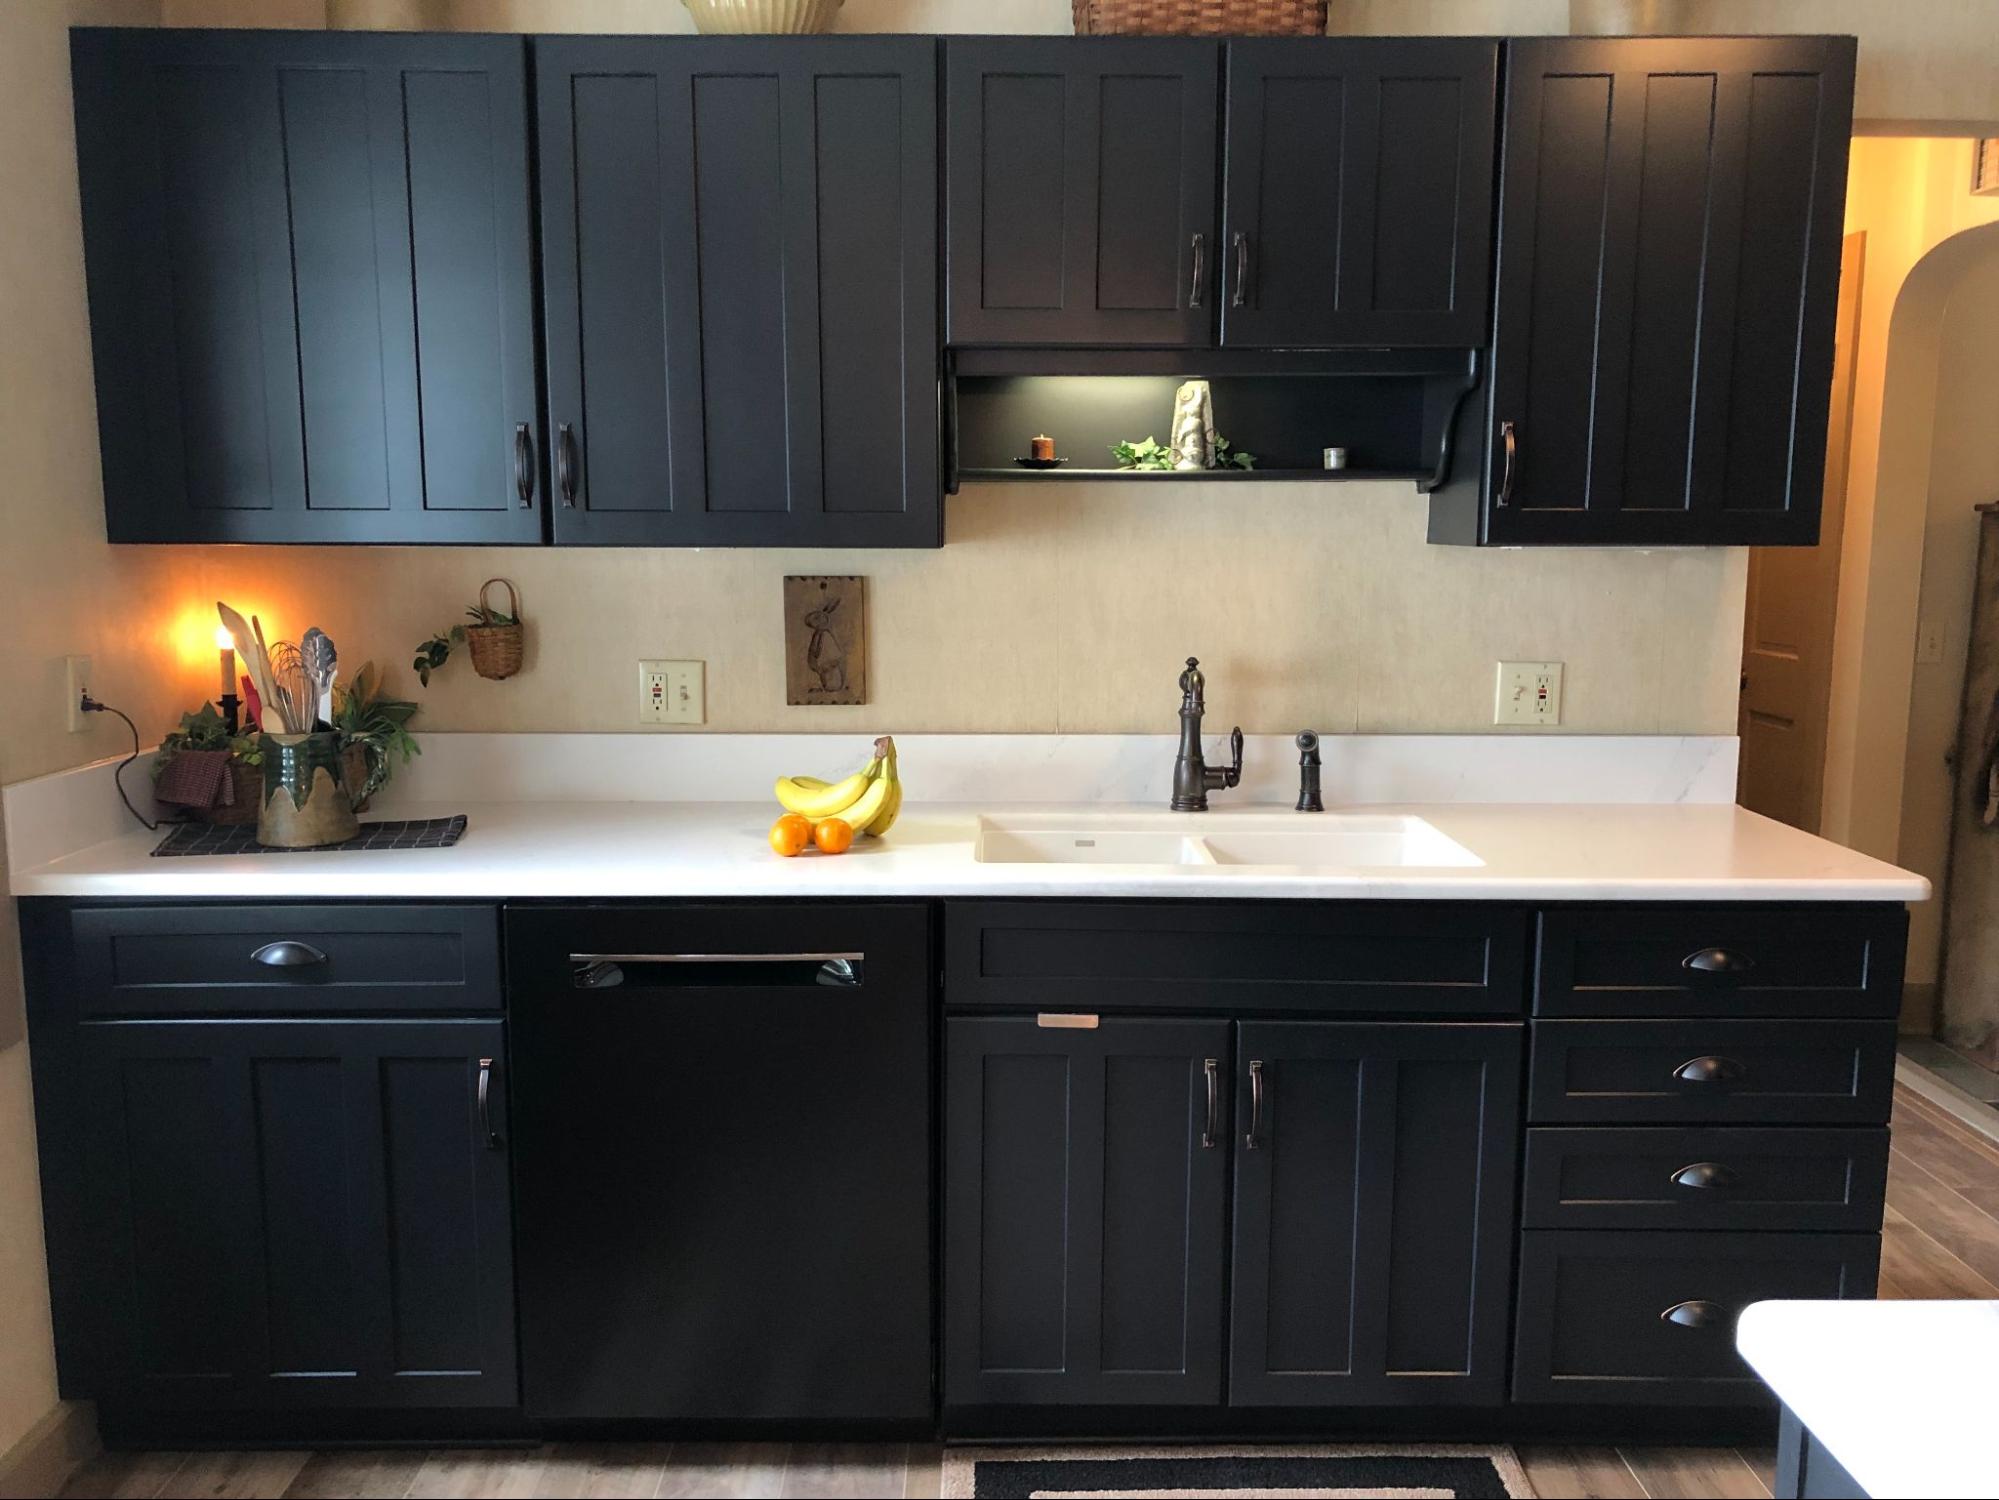
After measuring the length, measure the depth of each section. In many kitchens, the standard countertop depth is around 25.5 inches, including the front overhang, but it is still important to measure your actual counters rather than assume they follow a standard size.
Measure from the wall to the front edge of the counter. If there is an overhang, include it in the measurement. If part of the layout includes a bar-style extension or a seating area with extra depth, note that separately on your sketch so it does not get grouped into the standard sections by mistake.
4. Mark Sinks, Cooktops and Other Cutouts
Next, go back to your sketch and mark any features that will affect the countertop design. This includes the sink location, cooktop cutout and any other fixture or appliance that changes the layout.
You should also note backsplash areas if they are part of the project. Even if these details do not change the basic square footage very much, they still matter when a fabricator reviews the space. They help create a more complete picture of the kitchen and can make the quoting process more accurate.
5. Calculate Square Footage
Once you have the length and depth of each section, you can calculate the total square footage. Multiply the length by the width for each individual section, then add those totals together. If your measurements are in inches, convert them into feet before making the final calculation.
This number gives you a planning estimate for your new countertops. It can help you budget, compare materials and begin conversations about pricing. It is important to remember, though, that this is still not a final fabrication measurement. Before installation, a professional will need to verify the layout and complete the final template.
What Homeowners Often Miss When Measuring Countertops
Even careful measurements can miss a few important details. These are some of the most common areas homeowners overlook when measuring countertops for planning and quote purposes.
- Overhangs are easy to forget: When measuring depth, it is important to include the full countertop surface, not just the cabinet below it. If the overhang is missed, the numbers may look smaller than the actual countertop size.
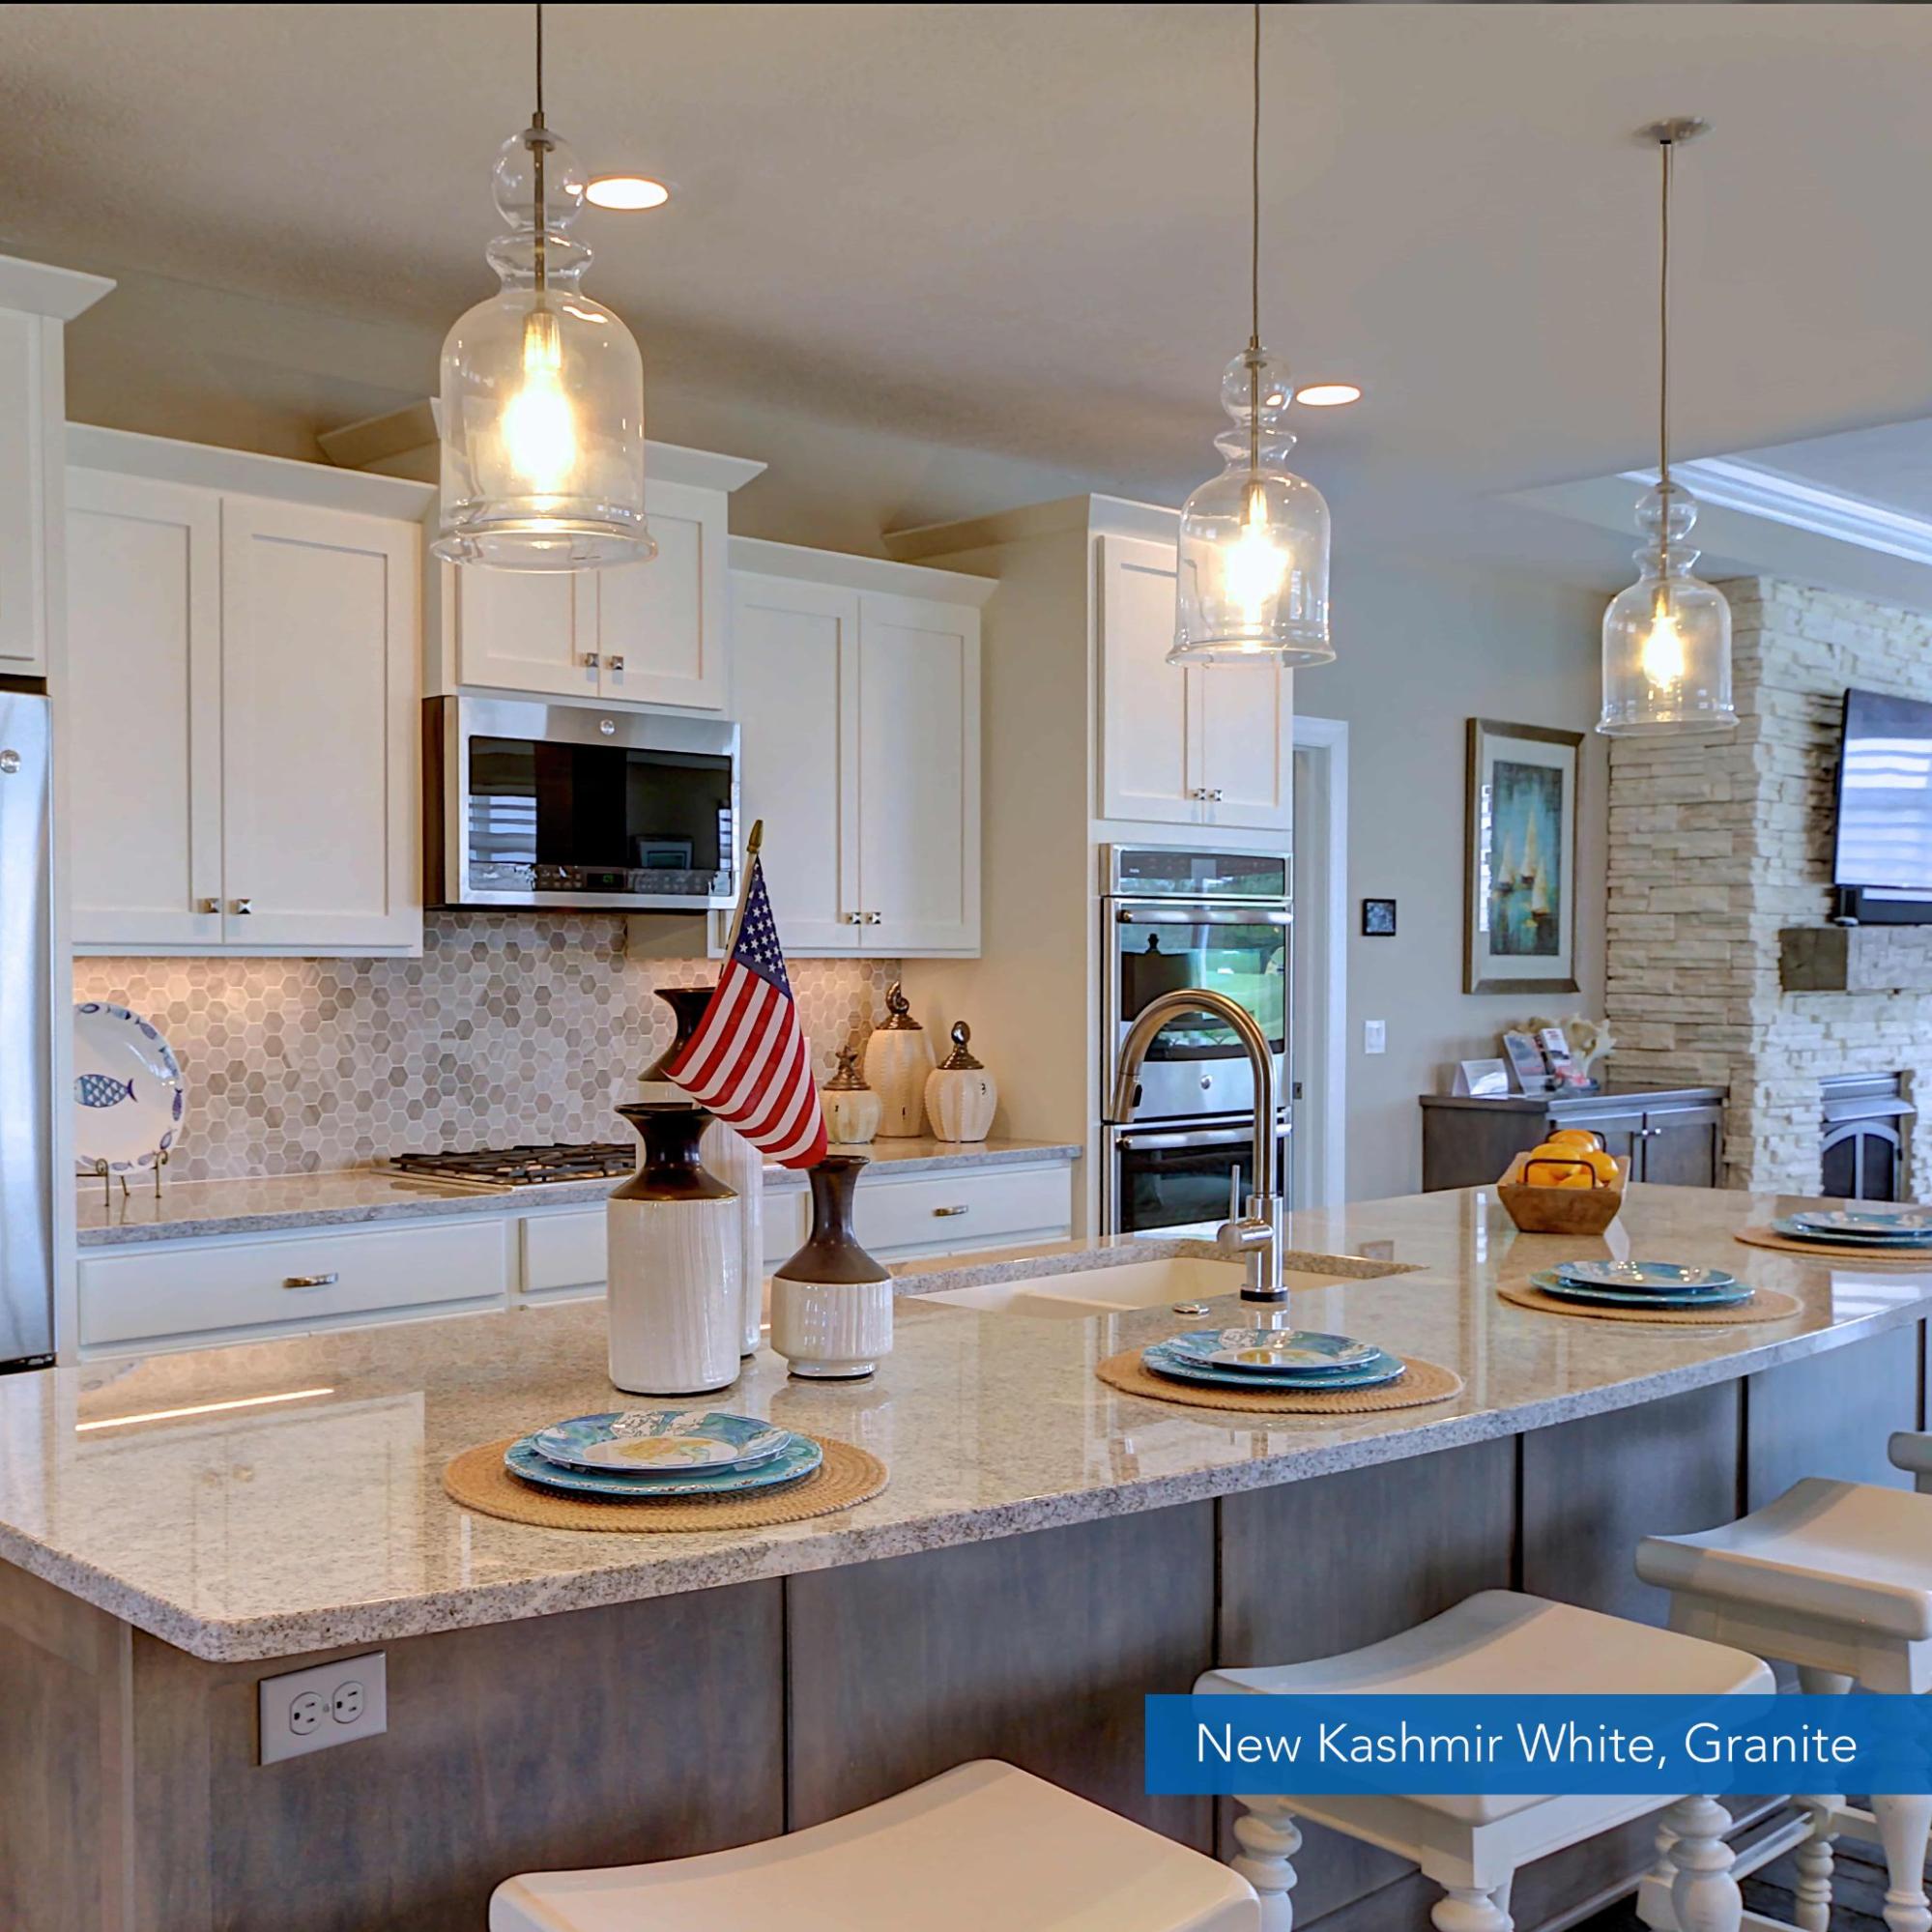
- Islands and peninsulas should be measured separately: These areas often have different dimensions than the main wall runs. Measuring them as their own sections keeps the layout clearer and helps avoid confusion later.
- Backsplash height should not be assumed: If the project includes a backsplash, it helps to note that separately. A quick assumption can lead to incomplete information when you begin discussing the project.
- Sink and cooktop cutouts still matter: Even if they do not change the square footage much, they affect the layout and fabrication plan. Marking them clearly on the sketch gives a more complete picture of the space.
- Complex shapes need professional measurement: Angled walls, curves and unusual layouts are harder to measure accurately with rough homeowner measurements alone. These spaces are a good reminder that early measurements are helpful for planning, but not a replacement for professional templating.
- Photos can add useful context: A few smartphone photos can help a fabricator better understand the room, appliance placement and details that may not be obvious on a sketch.
The most common measuring mistakes are forgetting overhangs, missing separate sections and assuming rough numbers can replace professional templating.
How Initial Measurements Support a More Accurate Quote and Smoother Process
Accurate measurements do more than give you a rough idea of countertop size. They help create a more useful starting point for the entire project. Better measurements can lead to a more accurate quote, clarify material needs and give a fabricator a clearer sense of cutouts, layout complexity and overall scope.
They also make early conversations more productive. When a homeowner brings in a sketch, photos and rough dimensions, it becomes much easier to talk through countertop options, project details and realistic budget expectations. That can be especially helpful during a remodel, when several decisions are happening at once.
After that initial step, the process usually moves into material selection and quote review. Final measurements come later through professional templating or Digital Layout, which helps prepare the project for fabrication and installation. Throughout that process, a dedicated Project Coordinator can help guide the next steps, keep communication clear and support a smoother overall experience.
Final Thoughts
Measuring your kitchen countertops is a helpful first step when planning for a new surface. A simple sketch, basic measurements and an estimated square footage can make budgeting easier and give you a stronger starting point when comparing countertop options.
At the same time, homeowner measurements are only part of the process. Final measurements should always be completed professionally before fabrication and installation. When the early planning is clear and organized, the rest of the project tends to move forward with fewer surprises and better expectations from the start.
Bring your rough measurements into a Cutting Edge Countertops showroom near you and our team can help you explore materials, layout options and next steps for your project.
FAQ About Measuring for New Countertops
How do I measure my kitchen for new countertops?
Start by sketching the layout from above, then measure the length and depth of each countertop section separately. Mark important details like sink locations, cooktop areas, overhangs and any islands or peninsulas so your estimate is more useful when requesting a quote.
Do I need exact countertop measurements to get a quote?
Not always. Preliminary measurements are often enough to start the quote process and support early budgeting. Final pricing, fabrication and installation details should still be based on professional measurements.
How do I calculate countertop square footage?
Measure the length and depth of each section, then multiply those numbers for each area. After that, add the totals together to get an estimated square footage for planning purposes.
Can I measure countertops myself before installation?
Yes, homeowner measurements can be very helpful during the early planning stage. They can support budgeting, material discussions and quote conversations, but they are not a replacement for professional templating before installation.
What details should I include with my measurements?
Along with basic dimensions, it helps to include sink and cooktop locations, overhangs, backsplash areas and photos of the space. Those details can give a fabricator a clearer picture of the layout and help make the early quote process more accurate.